Get Started
Company
Copyright © 2022. Logaholic Web Analytics BV
In this manual item we’ll explain how to upgrade your Logaholic installation from version 3.x to version 4.x. This process only applies to the self hosted and service provider editions of the software. Upgrading is really simple and can be done by copying the new files over your current files in your Logaholic folder. However, if you have a large amount of data and accompanying profiles you might want to try Logaholic 4.x first before you decide to move. In that case you may decide to set up a clean Logaholic 4.0 installation and import individual profiles and data from Logaholic 3.x manually.
Copy (extract) the contents of the logaholic zip file -containing the newer software version- to your ‘logaholic’ subdirectory. For example, if you have a website called “www.testsite.com” and your current Logaholic subdirectory is ‘logaholic’, extract the files to “www.testsite.com/logaholic/”.
The new files will overwrite the old files.
Start by installing a clean Logaholic 4 installation on your webserver. Please follow the instructions in the SHE/SPE installation guide. Once installed, follow the steps below.
A download link will be prompted. Save the file to your computer (disk).
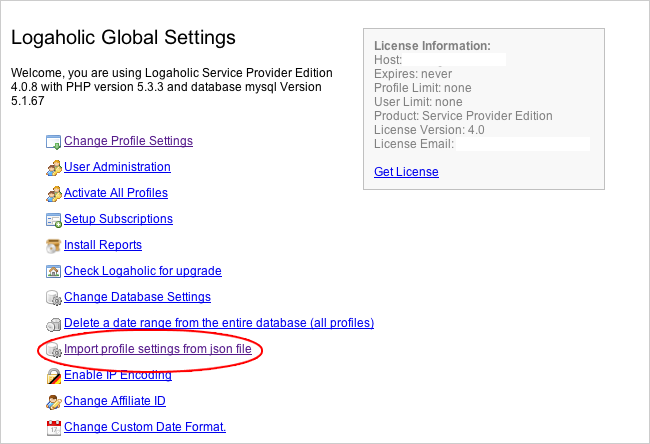
Browse your computer for the file you downloaded in the previous step and click “Import”.
It’s also possible to enter the full path and file name in case you have the file saved on your server.
Your profile settings are now saved and ready to use.
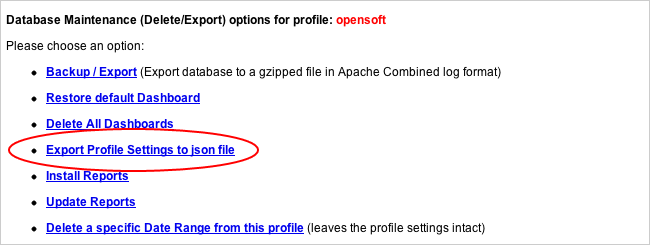
Choose “Backup / Export”.
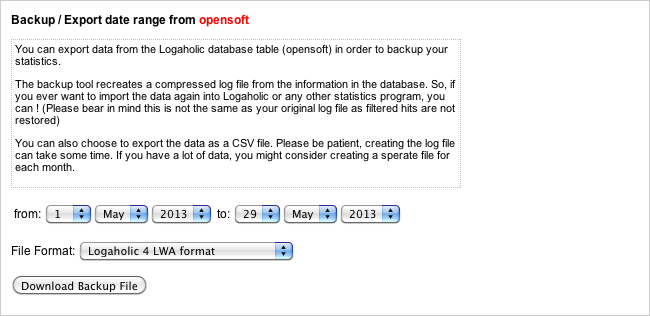
Select “Logaholic 4 LWA format” as a file format and click “Download”.
A series of log files will now be created in a new directory on your server. The screens shows the file locations. You will need to copy these files to the location described in the next step.
Navigate to the directory that contains your new Logaholic installation.
Open the subdirectory “Data”.
Within the Data directory, open the folder that contains the name of imported profile.
Open the subdirectory “logs”.
Copy the log files from step 3 here.
The final step is importing the data using datamanager in Logaholic 4.x.
Again, open the Maintenance tab for the profile you wish.
Click “Datamanager Settings”.
Your log file overview on the right should contain the file you just copied to the log directory of your profile.
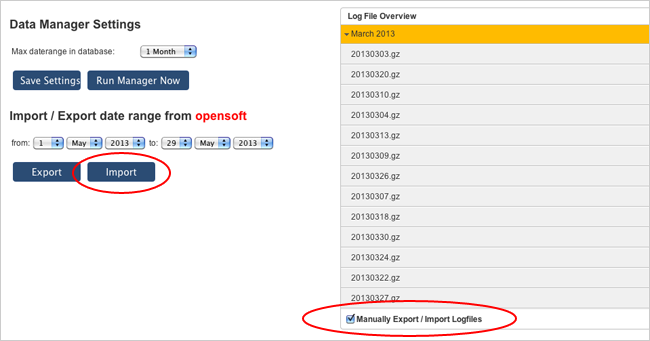
Click “Import” and the export/import process is done!